This page explains how to prepare, connect, and load your data into Pacemkr.
Preparation
Before you launch the Azure DevOps wizard in Pacemkr, you need to set up a few things in your Azure DevOps instance.
Personal Access Token (PAT)
Your first step to prepare your access to Azure DevOps from Pacemkr is to create a Personal Access Token (PAT) in Azure DevOps. This PAT is used by Pacemkr as your identity when it accesses your Azure DevOps instance.
To create a PAT in Azure DevOps, follow this sequence of steps:
1. Log in to your Azure DevOps instance.
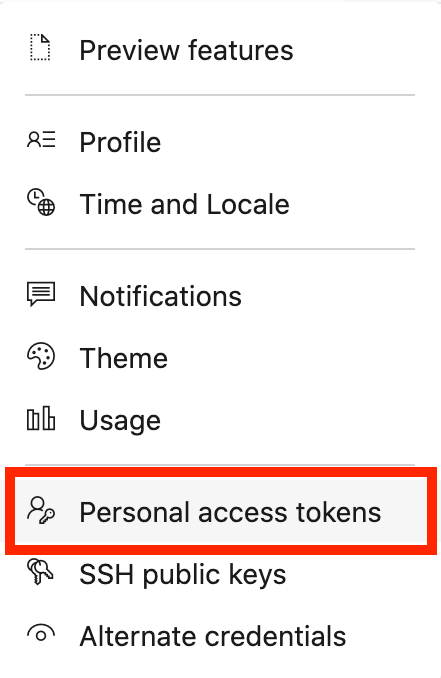
2. Click on the user settings icon in the top right corner of your window.

3. Click on the Personal Access Token menu item from the dropdown list.
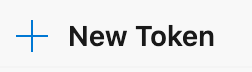
4. Click on the “New Token” button.
5. A menu on the right will display a configuration panel where you will create your PAT. Describe your PAT by entering the following information:
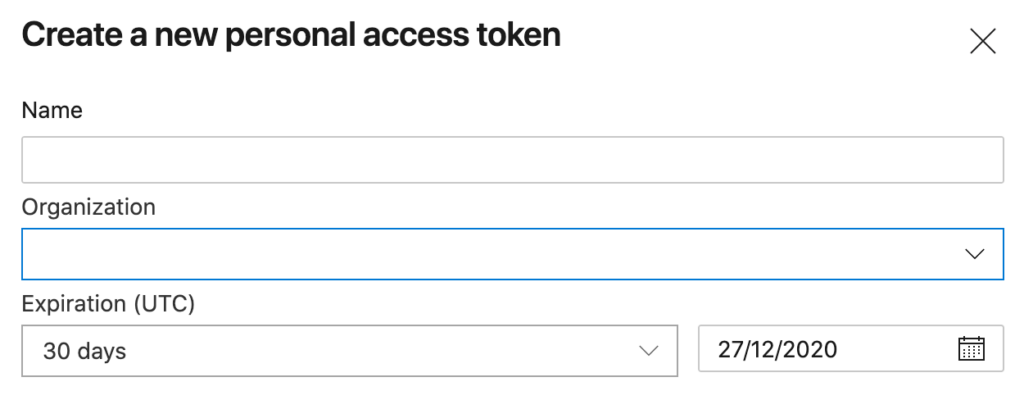
- Name: Give it a recognizable name to easily find it as you manage the PATs of your users.
- Organization: From the dropdown list, choose the organization you want to grant access to.
- Expiration: This tells the expiration date of your PAT. When trying Pacemkr, you can set it to 30 days. If you’ve become a registered user, you can add a longer period based on your organization’s security policies.
6. Assign the following permissions to your PAT

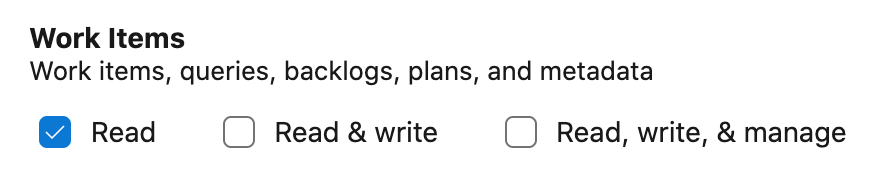

If you do not see these groups, look for the Show All Scope link at the bottom of the panel.
7. Click the “Create” button. You will see your token appear for the first and only time. Copy and paste it to a secure location as it will be required each time you connect to Azure DevOps.
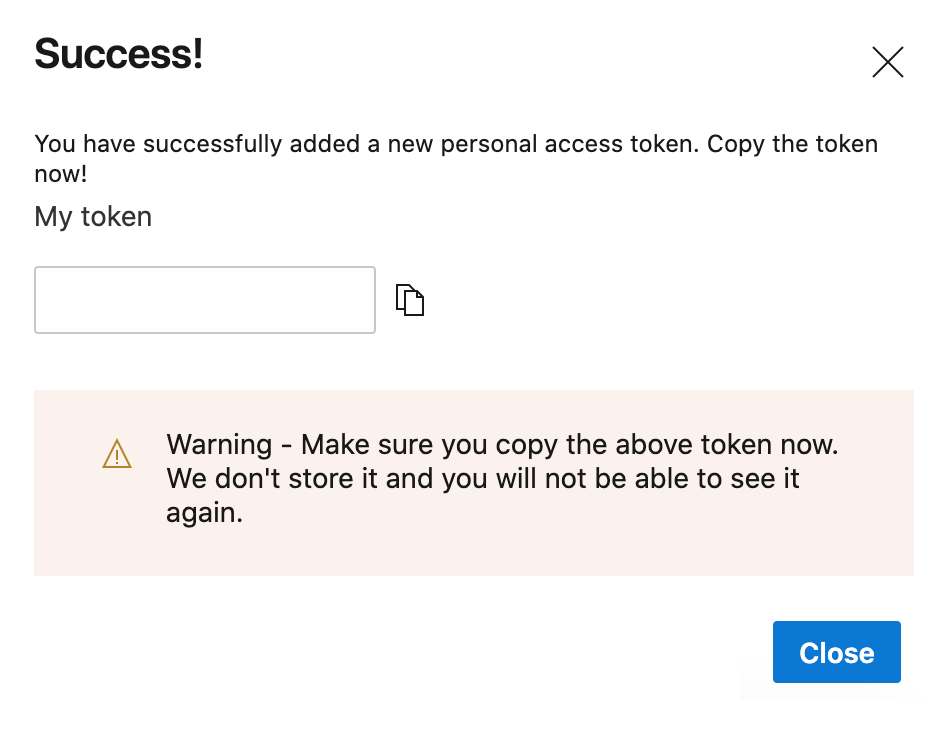
Finally, your PAT will appear in the list of PATs with its permissions. It is marked as active meaning it can be used to connect to your Azure DevOps instance.
Going through the Azure DevOps wizard in Pacemkr
The Azure DevOps wizard guides you through the 5 steps to extract your work items from the right Kanban board.
- Authenticate to your Azure DevOps cloud instance
- Select the team that has the board you want to download
- Select the board from the team
- Select the area path of this team
- Download work items from the selected board
Step 1 – Authentication
The first step in the wizard is authenticating yourself to your Azure DevOps instance.
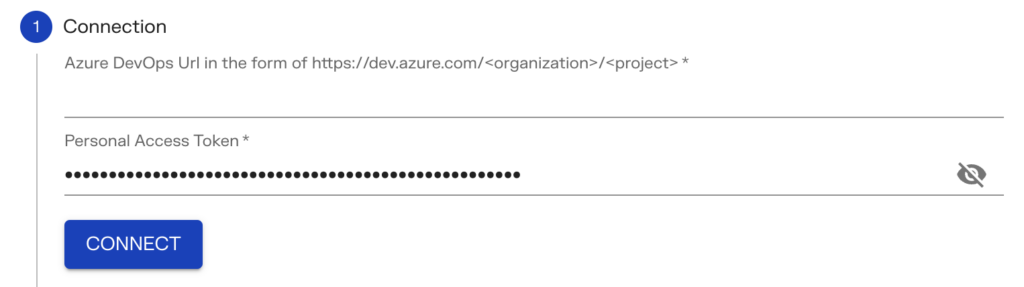
You do so with the following parameters:
- Azure DevOps Url: This is the URL of your Azure DevOps organization instance.
- Personal Access Token: Paste in this area the PAT explained previously in this tutorial
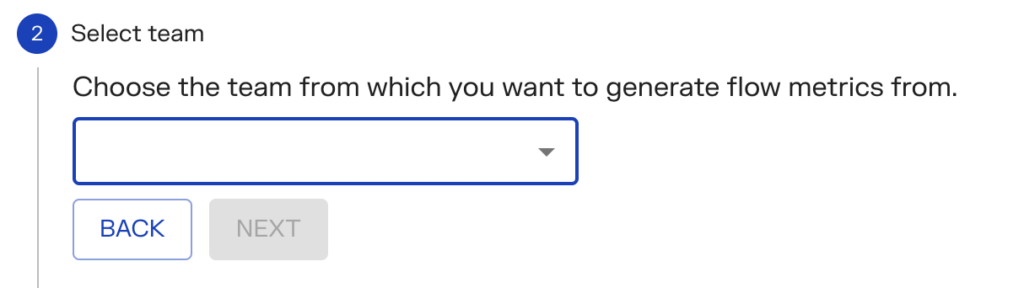
Step 2 – Select team
Once you are connected, Pacemkr retrieves the teams of your Azure DevOps instance.
Click the dropdown menu to choose the team in which your board is located.
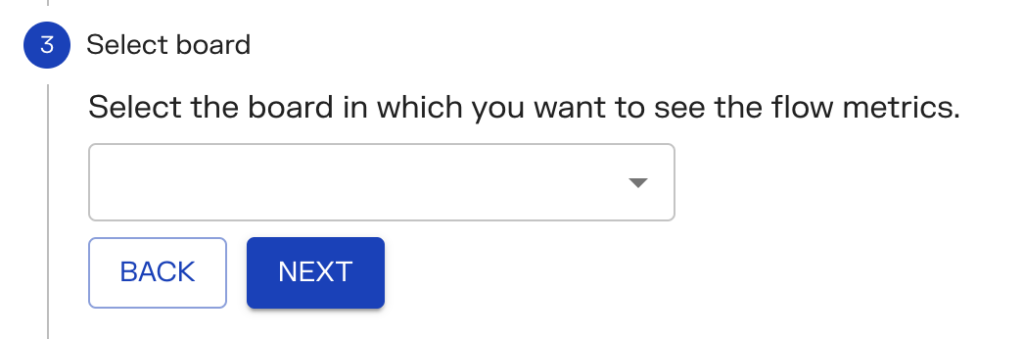
Step 3 – Select board
With your team selected, you now choose the board from which you want to generate the metrics from.
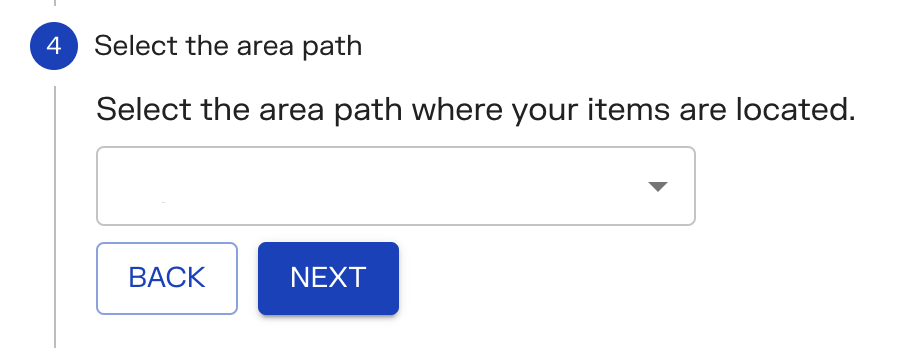
Step 4 – Select the area path
A team is always assigned a default area path when it gets created. Based on your team organization, choose the area path that reflects the work items you want to retrieve.
Step 5 – Fetch the work items
In this final step, you press the “Fetch” button to launch the process of recovering the work items from your queries.
Pacemkr displays the columns of your board and offers a limit on the number of completed work items you want to fetch. For example, it might not be important to import more than 3 months of completed work items.
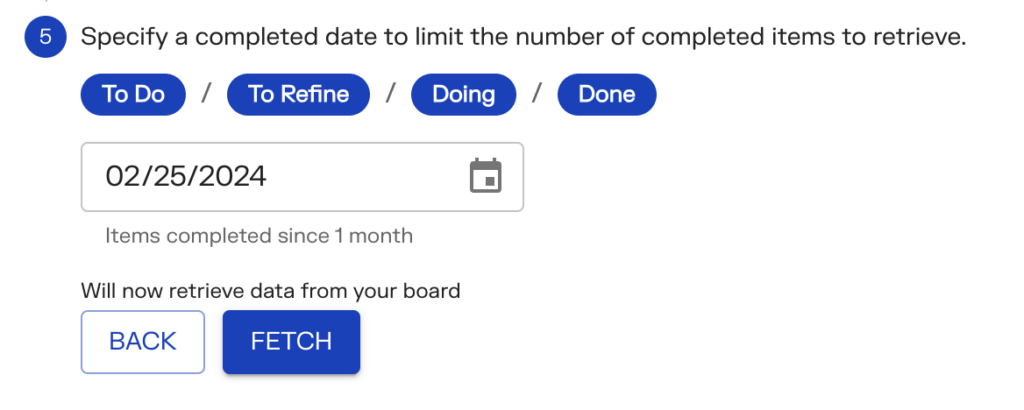
When you are ready, press the ‘Fetch’ button. It takes a few seconds to download your work items. Once the export is completed, the button is renamed ‘Next’ with a short text above informing you how many work items were downloaded. Pressing the ‘Next’ button will generate the flow metrics for your board.
Legal considerations
If data and security are of concern to your organization, Pacemkr has written policies to reassure its customers on how it handles their data. You can refer to these pages here: