This page explains how to prepare, connect, and load your Jira Cloud data into Pacemkr.
Preparation
Before you connect to Jira within Pacemkr, you first need to create an access token in Jira.
Start by going to the Jira Admin page. At the top of the page, you will see a Settings button like in the image below. Click on it.
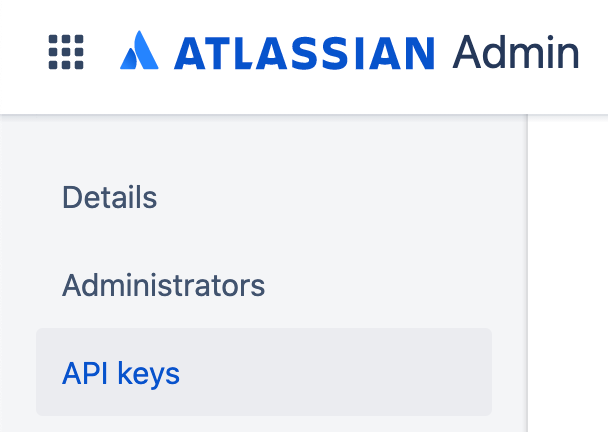
A new page will load. On the left, there is a list of selections. Click on API keys.
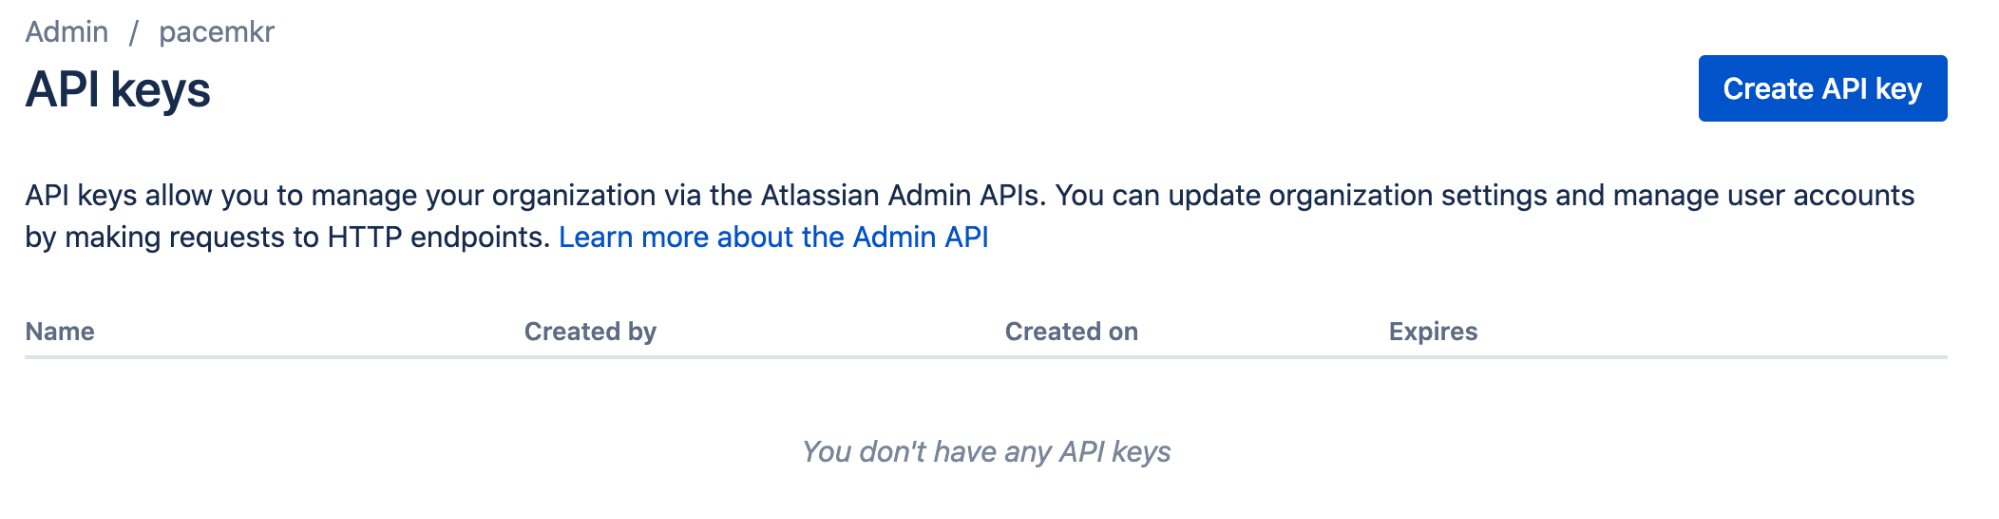
The right side of the page will change to display the list of API keys generated for your account. In this tutorial, there isn’t any but you may already have some created before. Click the button “Create API key”.
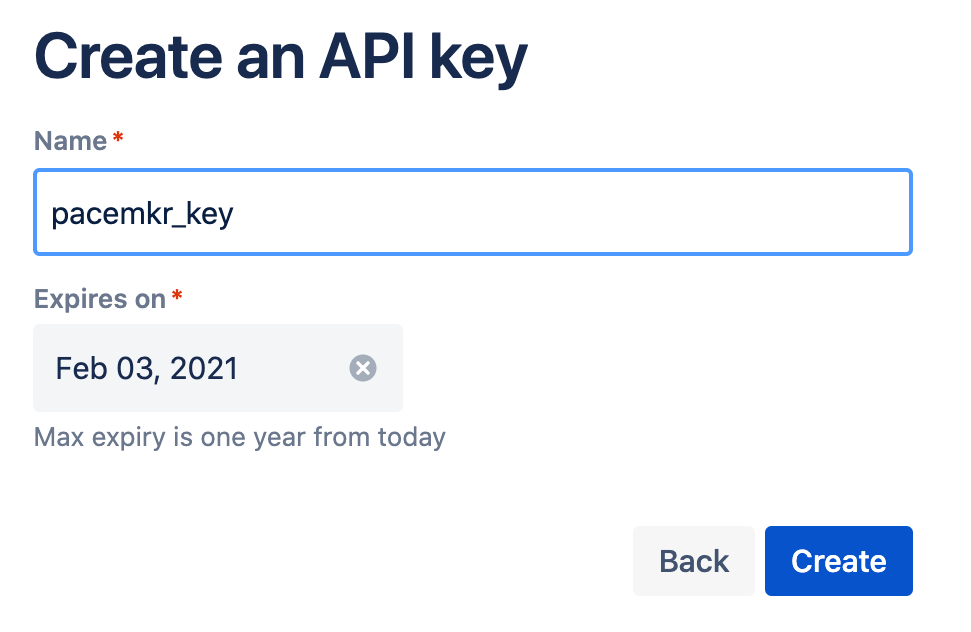
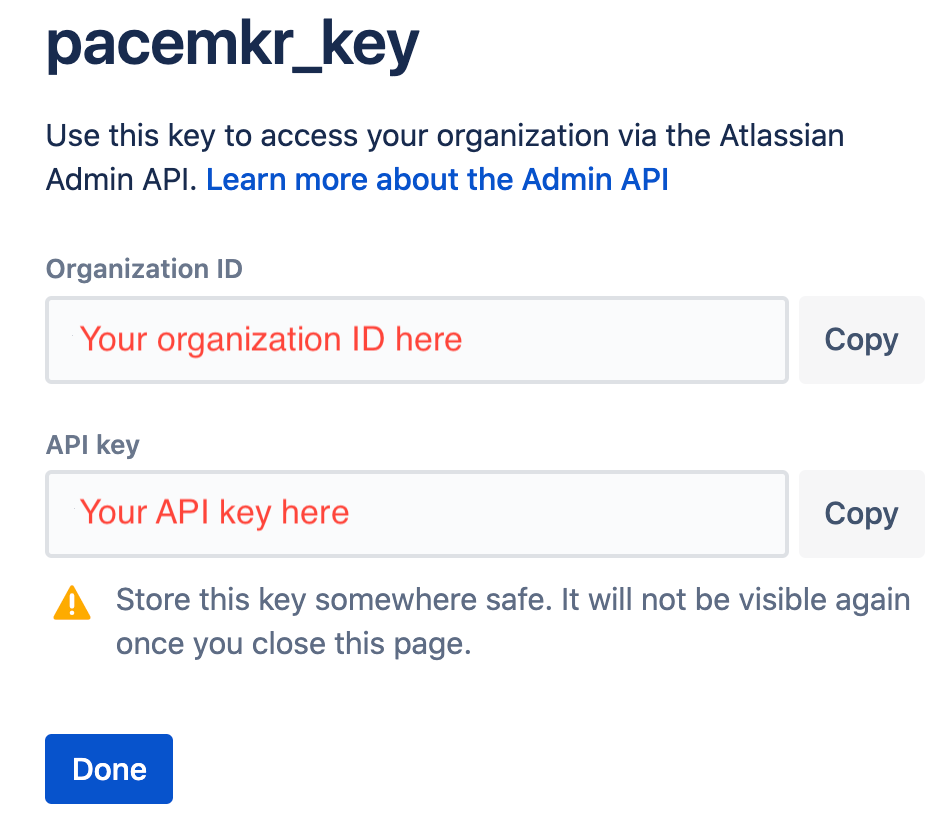
The next step is to give a name to your API key. In the screenshot below, it is called pacemkr_key. Based on your security policies, you may change the expiry date. Once you’ve given a name to your API key, click “Create”.
Your API key is now created. In the image below, the API key would be in the grey box API key. Copy this value into a secure file as you won’t be able to access this API key afterwards. When this is done, click the button “Done”.
Your API key is connected to your Jira account. Pacemkr uses the combination of your email from Jira and your API key to connect to Jira. Your API key has the same access rights as your Jira account. Keep in mind this information is to not share your API key with anyone else who could impersonate you.
Finally, Pacemkr will need the URL of your Jira instance. For Jira Cloud, this is usually in the form of https://<your org. name>.atlassian.net.
Going through the Jira wizard in Pacemkr
The Jira wizard consists of 5 steps to download the necessary data to create flow metrics in Pacemkr. Those steps are
- Authenticate to your Jira cloud instance
- Select the board you want to download Jira issues from
- Review the board information
- Select fields to use as filters
- Download Jira issues from the selected board
Step 1 – Authentication
The first step in the wizard is authenticating yourself to your Jira instance. The next screenshot presents how this step looks like in the wizard.
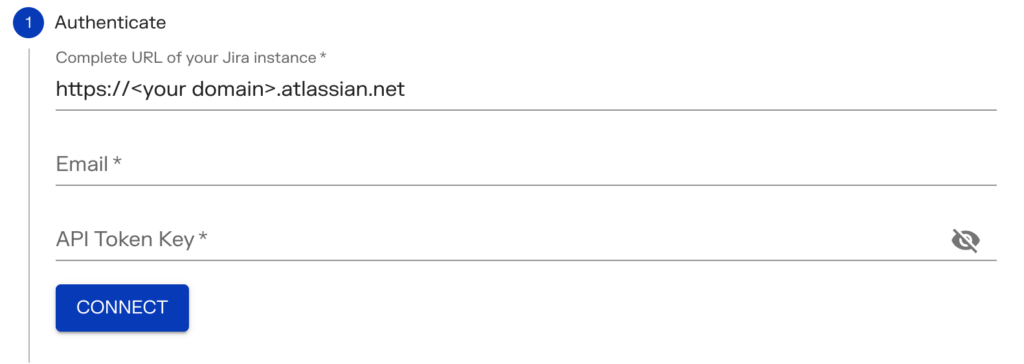
Enter the following information to connect to your Jira Cloud instance.
- Jira Domain: This is the URL of your Jira Cloud instance. It is usually in the form of https://<your org>.atlassian.net. The prefix “https://” is mandatory.
- Email: The email with which you created your API key in the Preparation section of this tutorial.
- API Key: The key created in the Preparation section above.
Once those values are entered, click the Connect button. If you encounter any errors during this step, visit the troubleshooting page for ways to help you resolve your issue.
Step 2 – Select a board
Once you are connected to Jira, Pacemkr offers 2 ways to select your board. Based on the number of boards in your organization, Pacemkr will display one of the following images.
To the left, pick a board based on a dropdown menu. When your organization has less than 25 boards, it will present that screen.
To the right, as there are too many boards in your organization, it becomes time-consuming to scroll through all boards. You must first start by filtering boards and click “Fetch” to retrieve only the boards that are relevant to you. You can then pick your board in this limited list.

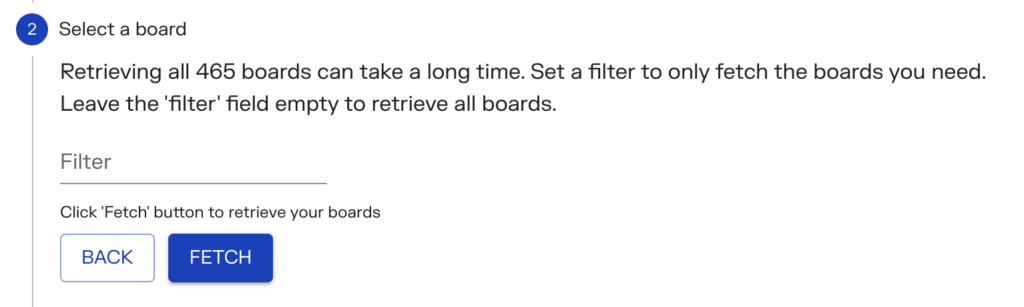
Once you’ve chosen your board, click the “Next” button. Pacemkr retrieves your board information.
Step 3 – Retrieve board information
At this step, Pacemk retrieves the following information from Jira:
- Columns, their statuses, and the board filter
- Epics associated with this board
- All the fields defined in your Jira instance
In the following animation, you can see how Pacemkr informs the user what it is currently retrieving from Jira.
Step 4 – Select fields
Once Pacemkr retrieves the fields of your Jira instance, you can pick up to 15 fields and use them as a filter.
The following image shows how Pacemkr lets you select your fields from the entire list of fields. On the right is the list of all available fields. Select fields by checking the boxes next to the one you want. click the left arrow to add these fields to the list of selected fields.
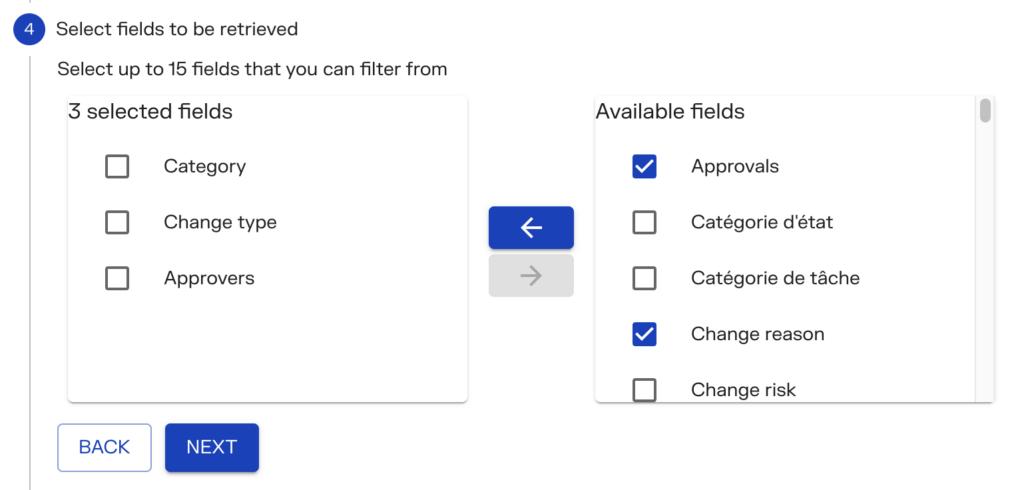
The list of selected fields is shown to the left. To remove them, click the checkbox next to the field and click on the arrow pointing to the right.
If no fields are selected, you will not be able to move forward in the Jira wizard. You need to at least select one field.
It is important to note that a few types of fields will not be available in the list. Fields that contain an image, a date, or a time are not available. For example, it would not make sense to filter on the CreatedDate field as every item will have a different value for this field. The same goes for fields Attachment and Thumbail. There is no easy way to filter those fields.
Step 5 – Fetch Jira issues
Pacemkr uses the board filter linked to the board as its query. It will fetch the same issues than Jira.
Pacemkr retrieves all issues currently in progress. This means all issues started but not completed are retrieved.
Pacemkr also retrieves completed issues but limits the amount of completed it retrieves. This is done as old issues might not be relevant anymore due to team composition or changes in the meaning of issues in your team.
To limit the number of completed issues, use the date picker in the image below
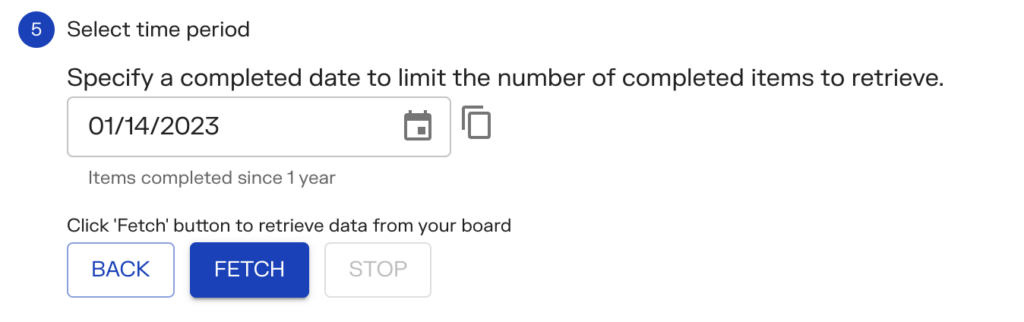
Once the completed date is selected, click the ‘Fetch’ button to fetch the data in Pacemkr. Messages will inform you of the number of issues being fetched.
Some boards are poorly configured, and the board filter can bring multiple thousands of Jira issues. If this happens, press the ‘Stop’ button. Refer to the troubleshooting page to guide you through ways to resolve this issue. When fetching multiple thousands of Jira issues, the problem lies more in a configuration issue in your Jira board than in Pacemkr.
Legal considerations
If data and security concern your organization, Pacemkr has written policies to reassure its customers on how it handles their data. You can refer to these pages here: